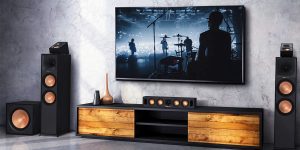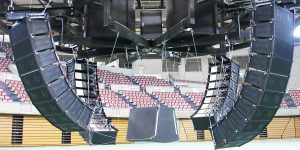
If you’ve ever rocked out at a concert, you know how important it is for the sound to be spot on. And at the heart of that sonic goodness are the speakers. But here’s the deal: for them to keep rocking, you’ve got to show them some love through regular speaker maintenance. In the article, I will talk about simple yet effective steps like cleaning, banishing dust, and giving those connections a check-up.
Basic speaker maintenance

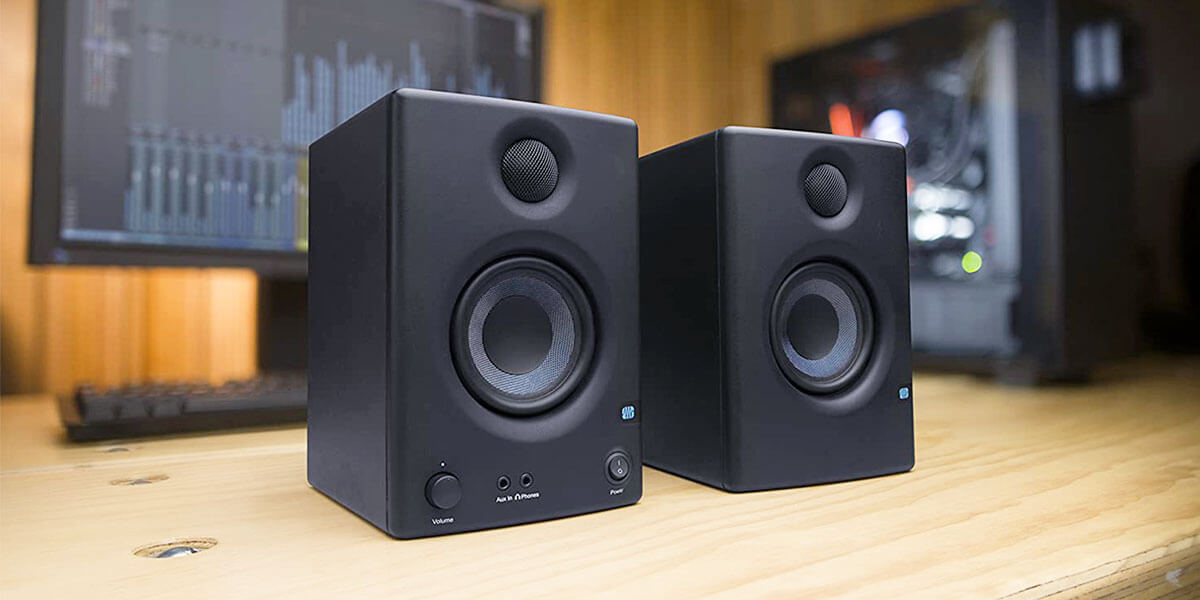
Cleaning your speakers
Want to extend speakers’ lives and achieve maximum sound quality? Then it is simply unacceptable for you to ignore loudspeaker maintenance:
- Gather your cleaning supplies:
- Soft, lint-free microfiber cloths: These are gentle and won’t scratch your equipment. Optimal ones to clean your speakers.
- A can of compressed air: Perfect for hard-to-reach areas.
- Mild, non-abrasive cleaning solution: A mix of water and a tiny amount of dishwashing liquid works wonders.
- Distilled water: For a final rinse, I find it prevents any residue.
- A small, soft brush: I prefer a clean paintbrush or a makeup brush I borrow from my wife, which is perfect for detailing.
- Cotton swabs: For those tiny nooks and crannies that need a bit of extra attention.
- Safety is paramount, so remember to power off your acoustic equipment and unplug them from the wall.
- If your acoustic equipment has removable grilles, you’ll want to take them off for a thorough clean. Be gentle, as you don’t want to damage any attachments. Manufacturers often have user-friendly instructions for this.
- I use a soft, microfiber cloth to gently wipe down the exterior of my speakers.
- The grilles can be a dust magnet. If they’re removable, I use a soft brush or compressed air to clean them. For any tricky spots, dampening a cloth with a mild cleaning solution is my weapon.
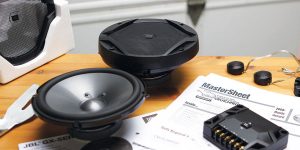
- For the real heart of the matter, it’s the drivers. I typically use a soft brush or compressed air. If necessary, a slightly damp cloth works wonders. Remember, it’s a delicate touch.
Checking for loose connections

Let’s tackle the issue of loose connections, which can wreak havoc on sound quality. You don’t need to be an audio technician for this; a keen eye and a bit of patience will do. I always start by powering off and disconnecting my acoustic equipment, ensuring everyone’s safe from any sudden audio surprises. Check the connections at both ends.
If you’re dealing with active equipment (like studio monitors), it might be worth opening them up (if you’re comfortable) to inspect the internal connections. In my experience, some loose connections might be internal and can’t be addressed without a bit of disassembly.
A loose connection can introduce unwanted distortion or reduce the volume of your acoustic equipment. However, be cautious not to over-tighten (if you want to avoid speaker damage), as this can be equally troublesome.
Troubleshooting common speaker issues

Distorted sound
Imagine you’re turning the volume up to the max, and your poor speakers just can’t handle it. This is where distortion often sneaks in, especially if your amp is pushing more power than your acoustic equipment can bear. What other reasons could be behind this? The diaphragm or woofer may get a little worse for wear, resulting in distortion. Loose wires and connections can spell disaster for your sound quality. When these essential parts aren’t in their best shape, you might get less-than-stellar sound.
First things first, if you’re hearing distortion, turn that volume knob down! Ensure that your amplifier isn’t cranked up to 11. Any visible damage or deformities? If so, consider some pro repair or replacement. Do not forget to check all your wires and connections. If anything’s loose, secure it. I would also try to connect a different audio source to your equipment. If you’re still getting distortion, it could be an issue with the speakers themselves.
Speaker buzzing or rattling

Ever wondered why your speakers suddenly start buzzing or rattling? Possible causes can be various, in fact. For example, inside components may be loose and not properly secured. Sometimes, debris or a forgotten pen cap can party inside your speaker, creating unwanted vibrations. Finally, the flexible material surrounding the diaphragm can wear out or get damaged.
So what should you do if you encounter this problem? First, turn off your speaker and make sure it’s unplugged. Are there any screws that need tightening or foreign objects causing a ruckus? Gently tap the speaker to help dislodge any debris. Then, examine the material around the diaphragm. Is it damaged or worn? If you see issues, consider getting it refoamed or think about replacing the speaker. Connect it to an audio source and check if the buzzing or rattling is still causing a fuss.
Popping or crackling sounds
Want to know what might be behind pops and crackles? If your speaker’s connections are a bit flimsy or damaged, you’ll start hearing unwanted noise in your music. Moreover, sometimes, our electronic pals like to interfere with our speakers, leading to those crackling sounds.
Of course I won’t leave you without the troubleshooting steps you can undertake. Take a close look at all your speaker connections. Ensure everything is securely fastened and reconnect any loose ends. Move other electronic devices away from your acoustic equipment. Then, give your speaker’s diaphragm a gentle wipe with a soft, lint-free cloth.
Once you’ve gone through these steps, give your speaker another whirl to check if the popping and crackling are finally gone.
The signs that indicate a need professional speaker repair

Of course, there are cases where you can’t do it yourself without professional speaker repair. If you encounter one of these issues, look for a repair service right away:
- Persistent distortion (If distortion persists, even at lower volumes);
- Physical damage (visible damage like torn diaphragms or cracked enclosures);
- Excessive heat (overheating signals internal issues);
- Smoke or burning smell (contact a specialist immediately to prevent speakers from blowing);
- Inconsistent volume levels (irregular volume output or uneven speaker performance);
- Excessive vibration or rattling (while some vibration is normal, excessive shaking or rattling indicates loose components or damage).
Want to make concert speakers last longer? I’ve shared some tips that will surely help you achieve just that!